Showing posts with label Gravy. Show all posts

Tuesday, 19 May 2020

Easy Moru Kachiyathu | Kerala Style Kachiyamoru | Moru Curry without Coconut | Seasoned Buttermilk


This is a simple, ready in a jiffy and yet a yummy gravy with yogurt that can please your palate as well as your time :) I make it mostly once a week, especially when I have non vegetarian side dishes like chukka or roast or some grilled chicken. My folks are happy and that makes me too happy :) It is basically nothing but tempered curd or yogurt. So I don't want to ramble much.. Just one more thing before we head on to the recipe. It tastes great with potato fry or koorka upperi as well ;) Here in this pic I have served it with Unnipindi upperi, simple chicken kebab, beef roast & beetroot pachadi :)


Serves: 2 persons


I Took: 

Preparation Time: 15 minutes


I Used:


Coconut Oil - 1 tbsp
Mustard/Kaduku - ½ tsp
Fenugreek/Uluva - ¼ tsp
Ginger - 1 tsp - finely chopped
Garlic - 1 tsp - finely chopped
Red Chilly - 2 nos - chopped/broken
Green Chilly - 2 nos - chopped/broken
Curry Leaves - 2 sprigs
Turmeric powder - ½ tsp
Salt - As Needed
Curd
Water
-
-
1 cup - beaten/whisked
As Needed - If required


The Way:


1. Beat the curd nicely and keep aside. You can use a mixie or whisk for this. If using a mixie, add the curd in the jar along with water and salt and pulse them once or twice and you will get smooth curd. If using whisk, add water to the curd along with salt and whisk well till no lumps are there and the curd is smooth

2. Heat coconut oil in a pan/kadai. When it's hot, splutter the mustard. When it splutters,add the fenugreek seeds 

3. Then the chopped ginger and garlic and saute for 30 seconds 

4. Then add the chopped green chillies, red chillies and curry leaves and give a quick saute


5. Finally add turmeric powder (with the flame at low, else the powder will get burnt easily) and asafoetida if using and saute for another 30 seconds

6. Now add the whisked curd and give a quick stir and switch off the flame. Else it will start to split


Serve warm with matta rice and a spicy non veg side dish of your choice!

Cheers,
Chitz

Monday, 3 February 2020

Dal Palak (without onion and garlic) | Palak Dal | Easy Dal Palak Recipe


Recipe for the day is this warm and yummy Dal Palak which always reminds me of our Pune days. This hot bowl of simple yet flavorful palak dal was enough for us to eat scores of phulkas and extra extra helpings of rice. Did I slightly go overboard? Maybe ;) But you get the drift right. It is healthy too. All you need is that bowl of dal and maybe a sabzi. Even if I don't get time to make a sabzi, we manage with boiled egg fry or paneer burji. I love to make this with the palak I used to buy in Pune which gives an earthly flavor to the gravy. With the Chennai palak I feel that's missing. So without much further talk, let's get to the recipe.


Recipe Source: Here


Serves: 3-4 persons


I Took: 

Preparation Time: 5 minutes

Cooking Time: 30 minutes


I Used:


Palak - 2 cups
Tur Dal - ½ cup
Oil/Ghee - 2 tbsp
Cumin seeds - 1 tsp
Ginger - An inch piece - chopped
Green Chilly - 2 nos (medium sized) - chopped 
Red Chilly powder - ½ tsp
Asafoetida - ¼ tsp
Turmeric powder - ½ tsp
Salt - As Needed

The Way:


1. Rinse the lentil with water for 2-3 times. Then take them in a pressure cooker and add around 2 cups of water. Add salt and turmeric powder to it. If you have time soak the dal for 15-20 minutes before cooking so that they cook faster

2. Pressure cook the dal for 5 to 6 whistles till it becomes soft and mushy


3. Now rinse the palak in water for 2-3 times. Drain them of water. Then chop finely and keep aside. Also clean and chop the ginger and green chillies and keep aside

4. In a pan heat oil/ghee. Using ghee gives a very nice aroma and flavor to the gravy. Then temper the cumin seeds 


5. Reduce the flame to low and then add the chopped ginger and fry till the raw smell goes off

6. Then add the chopped green chillies & fry for 30 seconds

7. Now add the chopped palak and saute for a minute

8. Then add the red chilly powder and asafoetida


9. Now cover the pan and cook for 6-8 minutes till the palak is cooked. Palak will release some water. So no need to add additional water at this point. Just open the lid and saute twice or thrice in between so that the palak doesn't stick to the bottom of the pan

10. Mash the cooked dal so that it is smooth. Once the palak is cooked, add the mashed dal to it

11. Add water (1-2 cups) depending on the consistency you want or the gravy and give a nice stir

12. Check salt and add if needed


13. Simmer the dal for about 5 minutes and then switch off

Serve with nice phulkas/rotis, rice & a sabzi of choice :)

Cheers,
Chitz

Wednesday, 30 October 2019

Nadan Chicken Curry | Kerala Style Simple Chicken Curry | Easy Chicken Curry without Coconut - Type 2 :)


Nothing gives me more pleasure than the food I cook being wiped clean by my 2 boys :) And I'm sure that would be the same for every person who loves to cook, right :) Though we love to cook chicken in myriad number of ways, this is that recipe that we go back to every now and then mainly coz it's sooper easy (the basic Indian chicken gravy recipe) and my little one loooves it.. Even if I make it a little extra hot he will have this with the same enthusiasm and a little moist eyes ;) This is nothing fancy, just the basic onion-tomato base gravy and the normal spices simmered with lots of love :) 

During my initial days of cooking I never used to get the dense gravy in my chicken curry and it would be loose or watery. I always used to wonder what was going wrong and finally found that adding a bit of onion and tomato puree while preparing the base gravy changes the consistency. It was partly my laziness of grinding them to avoid washing an extra set of utensils that kept me away from that consistency for quite some time ;) So if any of you wondering why your gravy is watery, now you know! I love having this versatile gravy with practically anything from steamed rice / chapathi / porotta / appam / dosa / idly / idiyappam / puttu / ghee rice / coconut milk rice. Do try out and let me know which combo is your favourite :)

My other chicken recipes that you can find in the blog would be

Chettinadu Kozhi Kulambu
Chicken Masaledar | Spicy Chicken Masala


Recipe Source: Amma

Serves: 3-4 persons


I Took: 

Preparation Time: 20-30 mins

Cooking Time: 45 mins


I Used:


Chicken - 750 gm
Coconut Oil - 2-3 tbsp
Onion - 3 nos - medium sized (2 chopped & 1 for grinding)
Tomato - 2  - medium sized
Ginger - A fat 2 inch piece
Garlic - 15-20 nos (medium sized)
Green Chilly - 2 nos - slit
Red Chilly powder - 2 tbsp
Coriander powder - 1 tbsp
Turmeric powder - ½ tsp
Garam Masala - 1 tsp
Salt - As Needed
Curry leaves - 2-3 sprigs
Coriander leaves
Water
-
-
2-3 sprigs
As Needed (½-1 cup)


The Way:

1. Clean the chicken and cut them into small bite size pieces. Cutting the chicken into small 2 inch size pieces makes it easier for the gravy and masala to sink in to the pieces and make them more succulent 


2. In a mixie jar, take the peeled ginger (15-20 medium sized ones), garlic (A fat 2 inch piece) and onion (1 no - cut into 8-12 chunks) and grind them to a smooth paste. If needed you can add 2-3 tbsp of water for grinding. Keep aside

3. Heat 2-3 tbsp of coconut oil in a pan/kadai. When the oil is hot, reduce the flame and add the 2 medium sized onions (finely chopped) along with 2 slit green chillies. Saute them well on medium flame till the onions turn translucent. You can add salt as well while sauteing the onions to help them cook faster


4. Now once the onions are translucent, add the ground onion paste to it and saute on a low flame till they start to turn brown. Keep sauteing occasionally else they might get burnt

5. Once the gravy starts to turn brown add the masalas - 2 tbsp red chilly powder, 1 tbsp coriander powder, 1 tsp garam masala and ½ tsp turmeric powder and saute well again. Keep sauteing for another 2-3 minutes till the raw smell of the masala goes

6. Meanwhile, roughly chop 2 medium sized tomatoes and add them to the mixer jar. Grind them to a smooth paste


7. Once the raw smell of the masala goes off, add the pureed tomato to the gravy and saute well. Allow it to cook for 5-6 minutes on low flame and keep sauteing occasionally

8. Then add the cleaned chicken pieces and give a nice stir. Add the required amount of water for your gravy and also 1 sprig of curry leaves. Keep in mind that the chicken will ooze water while cooking, so adjust the quantity of water accordingly


9. Cover the pan/kadai and cook in medium-low flame for 15-20 minutes till the chicken pieces and cooked tender. Keep stirring occasionally to avoid the gravy getting stuck to the bottom of the pan and getting burnt

10. Once the hicken is cooked, uncover the pan and add the remaining 1 sprig of curry leaves and 2-3 sprigs coriander leaves. Give a quick saute


Switch off the flame and serve the gravy hot with steamed rice / chapathi / porotta / appam / dosa / idly / idiyappam / puttu / ghee rice / coconut milk rice of your choice !

Cheers,
Chitz


Friday, 28 June 2019

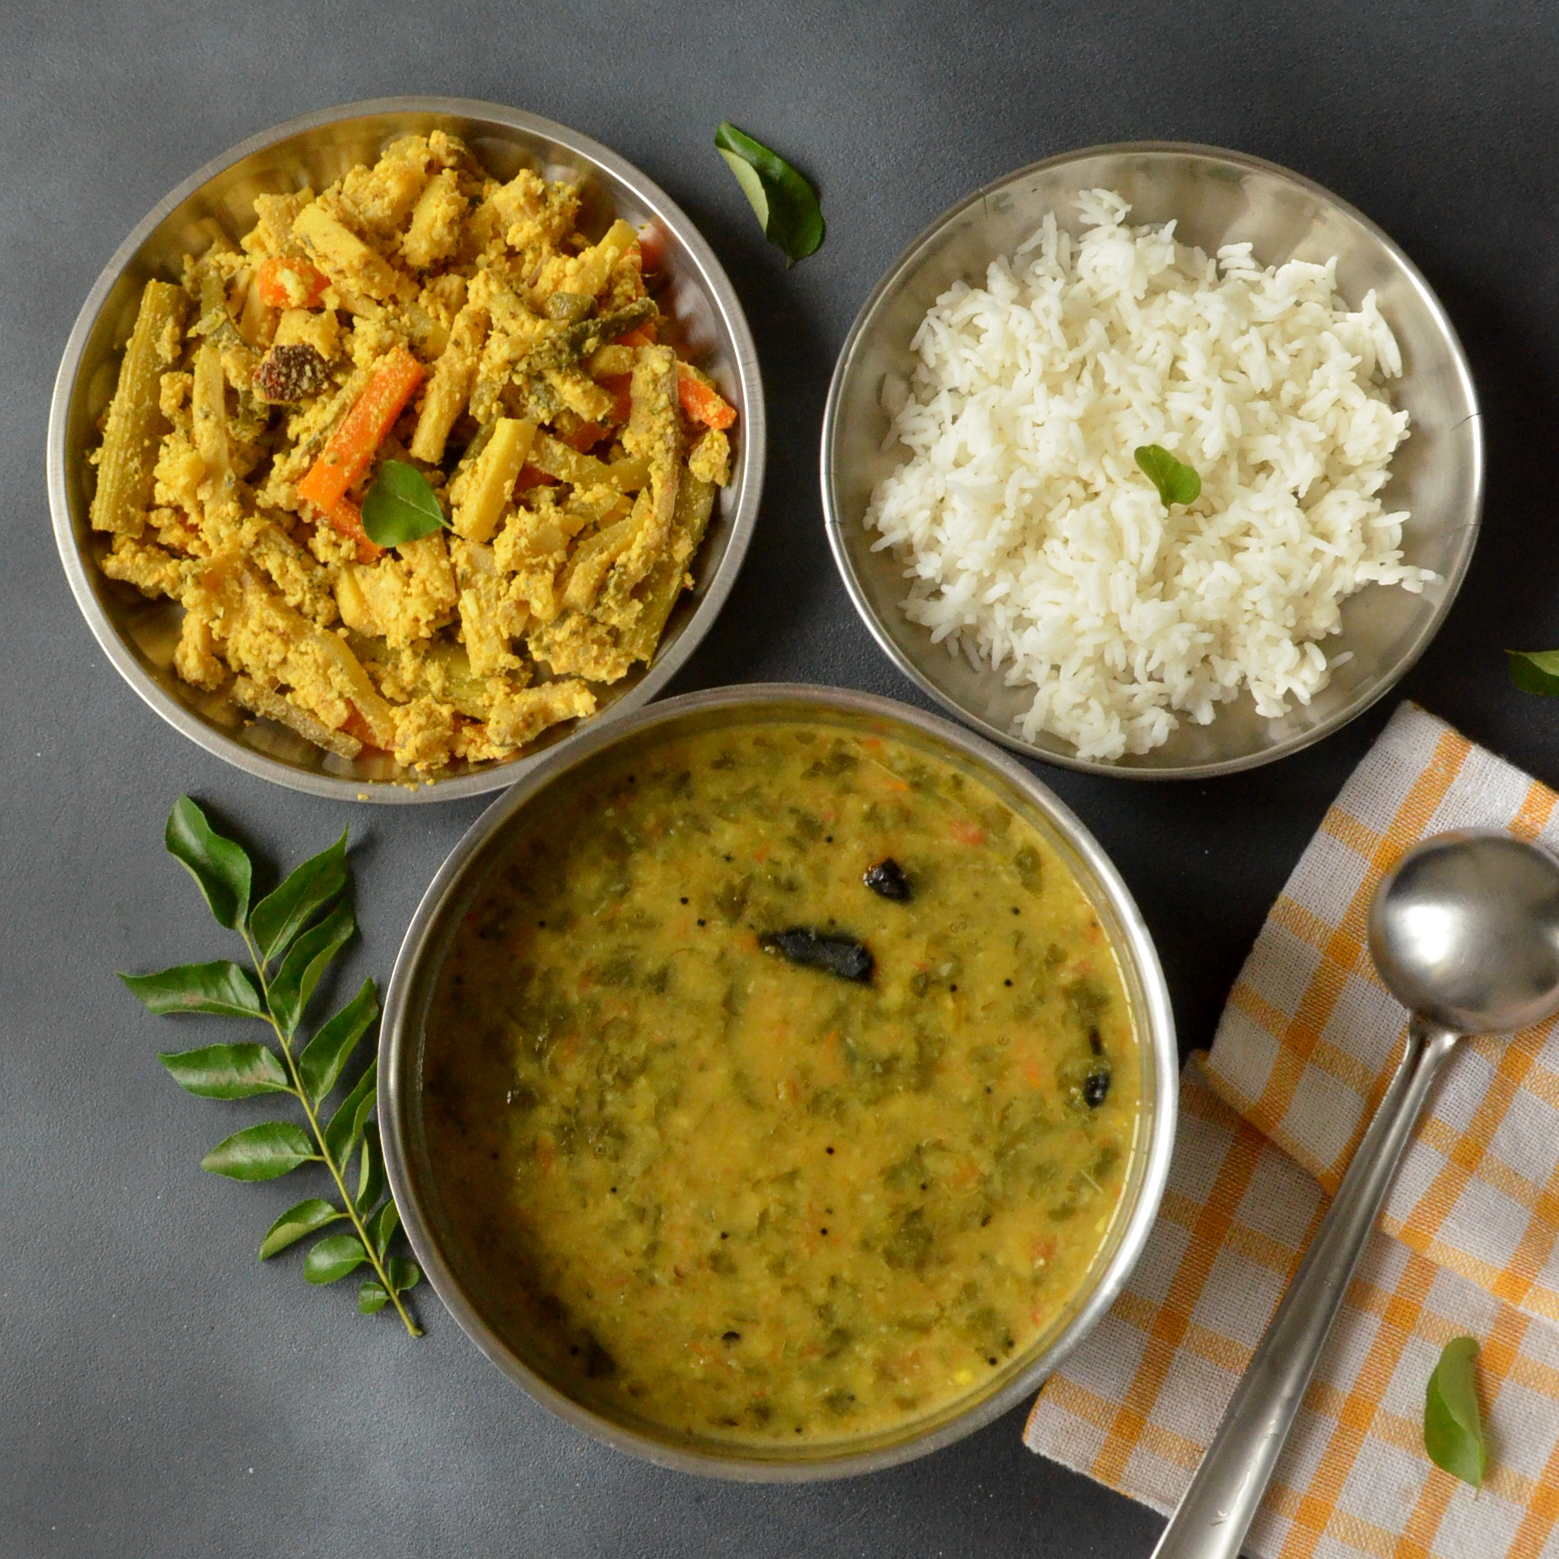
Paruppu Keerai | Sirukeerai Paruppu Kadayal | Sirukeerai Paruppu Masiyal | Quick Spinach Dal Recipe


This preparation used to be the only spinach dish that I liked when I was a child. And still this remains my favourite. I basically never liked spinach and that's the reason I loved this recipe. It masks the taste of the spinach to a good extent with the tur dal in it. And it's a one pot recipe, so it saves a lot of time on a busy day morning provided you can cleaned spinach ready :) If you are in Tamil Nadu, then there is no dearth to the varieties of spinach that you can get. And this recipe tastes great with Sirukeerai, pasalai keerai (Malabar spinach), paruppu keerai and palak as well. 

If you would like to peek into my other spinach recipes, then here they are - Cheera Parippu CurryCheera Thalippu, Cheera Thoran, Vallarai keerai PoriyalChembila MezhukkupurattiChembin Thandu Parippu Curry & Palak Paneer


Serves: 3-4 persons


I Took: 

Preparation Time: 10 mins

Cooking Time:  mins


I Used:


Keerai/Spinach - 1 ½ cup - chopped
Tur Dal - ½ cup
Tomato - 2 medium sized ones
Green Chilly - 3-4 long ones
Garlic - 4-5 pods
Tamarind (optional) - A blueberry sized
Turmeric Powder - ¼ tsp
Asafoetida - ¼ tsp
Salt - As Needed


To Temper:

Oil - 1-2 tbsp
Onion Vadagam (refer notes) - 1 tbsp
Mustard - 1 tsp
Red Chilly - 1-2 nos - broken

The Way:


1. Rinse the tur dal 3-4 times with water. Then add around 2 cups of water and soak it for 20-30 minutes

2. Meanwhile, rinse the spinach leaves (refer notes) in water 2-3 times so as to remove the dirt and mud from it. You can use the leaves and the tender stem. This recipe is best suited for Sirukeerai, pasalai keerai (Malabar spinach), paruppu keerai and palak 

3. Then chop the spinach leaves and keep aside

4. Roughly chop the tomatoes as well. Peel the skin of the garlic and slit the green chillies and keep


5. Now take the soaked tur dal along with the soaked water in a pressure cooker. Add turmeric powder, asafoetida, chopped tomatoes, garlic, green chilly and tamarind to it. Addition of tamarind is optional. If the tomatoes are tangy enough then you can skip tamarind

6. Pressure cook the dal for 2 whistles on high and then 3-4 whistles on simmer

7. Then switch off the flame and allow the pressure to release naturally

8. Once the pressure is released, open the cooker. Check how much water (or stock) is there. If you have more than a quarter cup of water then take them out onto a glass or container and keep aside. This is done because it is difficult to mash the gravy to a smooth consistency is more liquid is present

9. Then mash the dal-spinach using a masher so that the gravy becomes smooth. Now you can add the stock that you have kept aside, depending on the consistency of the gravy that you need


10. In a tadka pan, heat oil. Splutter the onion vadagam. If you do not have the vadagam, you can make a tadka using mustard seeds & red chilly. You can add sliced shallots too in the tadka if you like

11. Now add this tadka to the dal and mash it again and mix it well


Serve with rice and a stir fry of choice. I usually like to pair it with yam fry, plantain fry or beetroot thoran

Notes:

  • This gravy will taste yummiest when made with siru keerai, pasalai keerai (Malabar spinach), paruppu keerai and also palak
  • After buying the spinach, clean them properly. Remove any leaves that have turned yellow or starting to turn yellow. Also discard the leaves that are infested with pests or have small holes or white coloured formation in them. Also use only the tender stalks
  • I use onion vadagam for tempering. If not available you can make a tadka of mustard, red chilly and shallots
Cheers,
Chitz

Friday, 7 June 2019

Green Mochai Puli Kuzhambu | Mochai Chenakizhangu Puli Kuzhambu | Field Beans Gravy with Elephant Yam


This post is in my drafts for over an year now :D Now don't go 'Ohh my' so fast.. I have some more drafts that dates back to 3 years as well ;) Sometimes I feel the pic is not good, sometimes I feel the recipe is not up to the mark, maybe the measurements need a lil more fine tuning ;) So whatever the reason maybe, I am working on it and at the earliest planning to clean my drafts. Either rectify the issues or discard the draft and start fresh. Let's see how great it goes :)

So today's recipe is one with fresh field beans. I was very skeptical about cooking with this bean as it was the first time I was seeing the fresh variety though I have had the dried bean so many times during my childhood days :) But my mom convinced me (over phone) that they too taste great if made into a puli kuzhambu (tangy gravy with tamarind) with elephant yam.. And I didn't think twice. I had the yam too handy.. So went ahead and made this lip smacking gravy. It is easy to prepare and uses the pantry staples. Do try if you get hold of some fresh field beans and let me know how you liked it :)  

Serves: 2-3 persons


I Took: 

Preparation Time: 20 mins

Cooking Time: 30 mins


I Used:


Green Mochai/Green Field Beans - ⅓ cup
Chenai/Yam (diced) - ½ cup
Onion (sliced) - 1 medium sized
Tomato (quartered) - 1 medium sized
Red Chilly powder - 3 tsp
Coriander powder - 3 tsp
Turmeric powder - ¼ tsp
Asafoetida - ½ tsp
Tamarind - A small lemon sized
Grated Coconut - ¼ cup
Salt - As Needed

To Temper:
Oil - 1 tbsp
Mustard seeds - ¼ tsp
Curry leaves - 2 sprigs


The Way:


1. Soak tamarind in ½ cup warm water for 20-30 minutes. Then extract the pulp and keep aside

2. Remove the mochai (field beans) from the pods just like you de-shell the green peas

3. Grind the coconut in a mixer jar along with little water to a smooth paste and set aside

4. Clean and cut the yam into 2 inch cubes. Also slice the onions and chop the tomato into 8 pieces


5. Now take the field beans, cut yam, sliced onions and cut tomatoes in a kadai or clay pot that you are going to use to make the gravy

6. Add red chilly powder, coriander powder (or sambar powder - refer notes), turmeric powder, asafoetida and salt. Add 1 cup of water as well

7. Mix together and switch on the flame. Allow it to boil and then lower the flame and cook it covered for 5 minutes


8. Now open the lid and add the tamarind juice. Allow it to get cooked in low or medium flame. This will take around 10-12 minutes

9. When the beans and yam are cooked, add the ground coconut to the gravy and mix well

10. Allow it to blend in the gravy and cook for another 3-4 minutes. Once the gravy has reached the desired consistency and the flavours have mixed in well, switch off the flame


11. In a tadka pan, heat oil. Splutter mustard

12. Add the curry leaves and switch off the flame. Add this tempering to the gravy and mix well


Serve with steamed rice and a stir fry of your choice.


Notes:

  • Instead of red chilly powder and coriander powder you can add 2-3 tbsp of sambar powder. It will be more flavourful. Or you can add 2 tbsp of sambar powder, 2 tsp of red chilly powder and 2 tsp of coriander powder as well
  • While grinding coconut, you can add a tsp of fennel seeds or poppy seeds as well. If then take care to boil the gravy well so that you do not get the raw smell of the fennel seeds 
  • If yam is not available you can try with raw banana/plantain as well or maybe skip yam altogether. But yam does impart a earthy flavour to the tangy gravy. Do not skip if you can get hold of some
Cheers,
Chitz

Wednesday, 27 February 2019

Potato Ishtu | Easy Potato stew | Kerala Ishtu Recipe


So folks, I am back with yet another breakfast special recipe. Well, last time I posted how to prepare Idiyappam and so following that I am going to write how to make the Potato Stew or Ishtu, today, which is one of the commonly prepared side dish for Idiyappam at our place. It is unimaginably simple and sooper delicious and subtle and light on the tummy as well. The only prep work needed for the Ishtu is the coconut milk. If you have a tin of ready made milk or that instant powder to prepare coconut milk, then it's uber easy. 

But I always like to prepare coconut milk from scratch. I usually have grated coconut ready in my fridge if else I grate them and prepare fresh milk out of it. It smells and makes the dish extra special and fresh :) There is one more way of preparing stew which is my mom's way for me, that will have to wait for another day now. This is my mil's way of  making stew. In fact this ishtu is also a dish for our Onam Sadhya too. That time we make it a little less watery :) So let's see how to make this tasty and yummy side dish for Idiyappam.


Serves: 3 persons


I Took: 

Preparation Time: 10 minutes

Cooking Time: 15 minutes


I Used:


Onion - 2-3 medium sized (sliced)
Potato - 1 medium-big sized (cubed)
Green Chilly - 2 nos - slit
Ginger - An inch piece - sliced
Coconut Milk - 1 cup (from half a medium sized coconut)
Curry Leaves - 2 sprig
Coconut Oil - 1 tbsp
Salt - As Needed
Water - ½ cup


The Way:


1. Slice the onions into thin slices. Peel the potatoes and cut them into small cubes (size as per your preference). I make them into small cubes and once cooked mash them well

2. Slit the green chillies. Slice the ginger into thin strips (Alternately you can chop the ginger finely as well)

3. Take all of them - sliced onions, cubed potatoes, slit green chilly and sliced ginger in a pressure cooker or pan. Add salt and little water, around ½ cup

4. Pressure cook them till done. I keep for 2 whistles in high and 3-4 in sim 

5. Adding more water while cooking can dilute the stew. If you fear that the stew will get burnt at the bottom while cooking then add little more water. Once cooked and the pressure is released, open the cooker and cook on sim to allow the water to evaporate. This step is completely optional and is required only if you add more water

6. Mash the potatoes a bit. If you like them whole then don't mash. While mashing the potatoes, chances are the green chillies might also get mashed. This can increase the heat of the stew. If you do not prefer then remove the chillies before mashing


7. Keep the flame on simmer. Add the thick coconut milk (If you are making the isthu for sadhya then add ½ or ¾ cup of coconut milk as you would need the ishtu to be more thicker) and give a gentle stir. Do not keep on flame for long. A minute or two is more than sufficient. Switch off the flame

8. Add the curry leaves and drizzle the coconut oil on top. Transfer to a serving bowl and serve with idiyappams or appams


Notes


  • If you like you can add carrots too along with potato. Cut them in the same size as that of the potato and add along with the potatoes


Cheers,
Chitz